A Creative and Educational Adventure
Making soap with your child is not just a delightful and rewarding experience; it’s also an opportunity for creativity and learning. Here’s a guide to help you and your child embark on the exciting journey of soap making.
Choose Suitable Soap Base and Ingredients
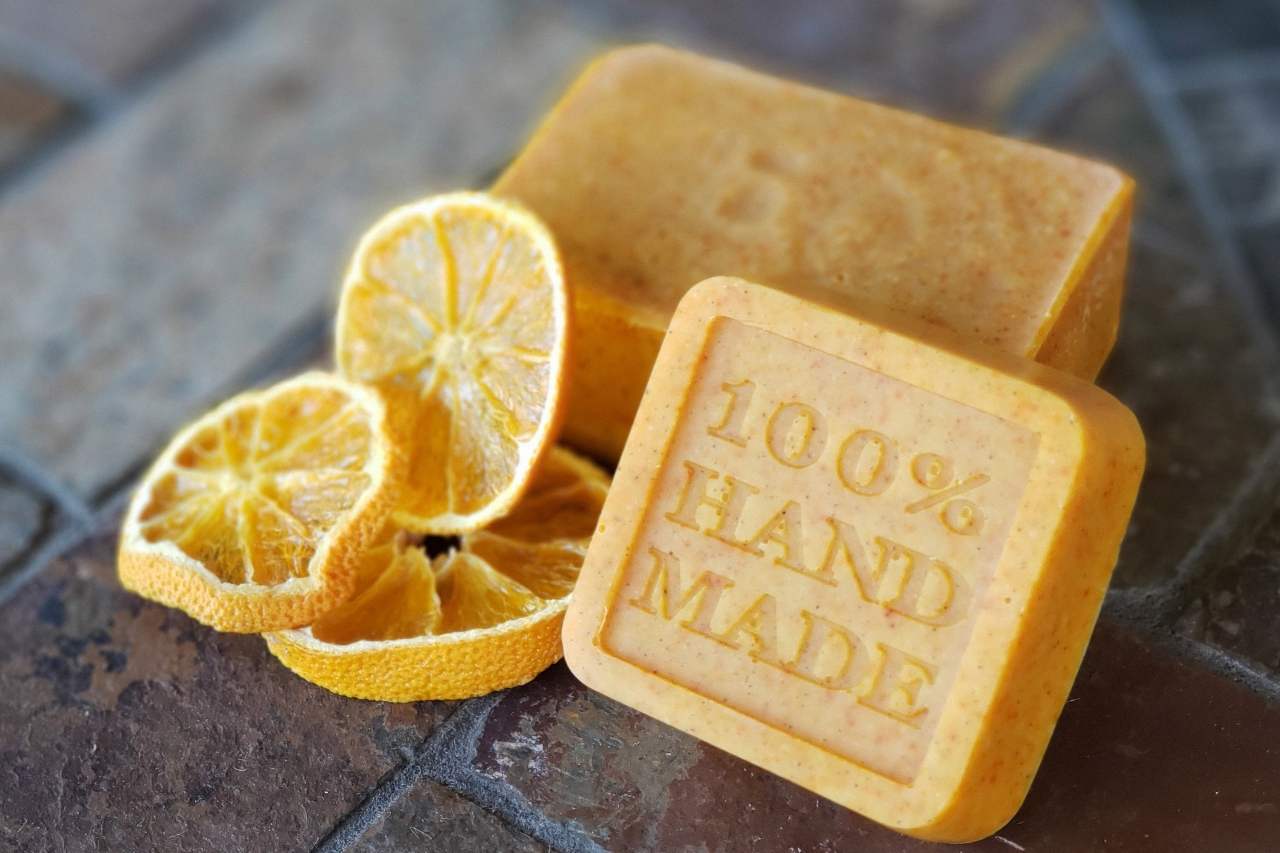
- Variety of Bases: Select a soap base that suits your child’s age and skill level. Options include clear, white, goat milk, shea butter, or honey bases. Explore online or visit craft stores to find the perfect base. Consider using natural or recycled materials like dried flowers, coffee grounds, or oatmeal exfoliants for added charm.
- Mindful Ingredient Selection: Be cautious of potential allergies or skin irritation. Check product labels and opt for child-friendly ingredients. Essential oils, herbs, flowers, clays, powders, and exfoliants offer a range of possibilities for a personalized touch.
Prepare Your Workspace
- Gather Materials: Ensure you have all the necessary tools—microwave or stove, a microwave-safe bowl or pot, spoon or whisk, knife or grater, scale or measuring cup, thermometer or timer, mold or container, and, of course, the chosen soap base and ingredients.
- Protective Measures: Cover your workspace with paper towels or newspaper, and don an apron or old clothes. For added protection, consider gloves and goggles.
Melt the Soap Base
- Preparation: Cut or grate the soap base into small pieces and place them in a bowl or pot.
- Heating Process: Melt the soap base in the microwave or on the stove, stirring occasionally. Avoid overheating to maintain quality. Aim for a temperature between 120°F to 140°F, and monitor the time accordingly.
Add Your Ingredients
- Creative Touch: Once the soap base is melted, introduce desired ingredients—essential oils, herbs, colors, or exfoliants. Stir with a spoon or whisk to ensure a smooth mixture.
- Bubble Prevention: Use a spray bottle with rubbing alcohol to eliminate bubbles. Maintain a balance in ingredient quantities to preserve soap quality.
Pour the Soap into Molds
- Mold Variety: Choose molds or containers according to your preference—silicone, plastic, or metal. Get creative with shapes using cookie cutters, ice cube trays, or muffin tins.
- Prevent Stickiness: Spray molds with rubbing alcohol before pouring to prevent bubbles or sticking. Experiment with layering, swirling, or marbling for unique effects.
Let the Soap Cool and Harden
- Patience is Key: Allow the soap to cool and harden for a few hours or overnight. Find a cool, dry place, away from direct sunlight or heat. While the refrigerator or freezer can expedite the process, avoid freezing to prevent cracking or sweating.
- Check Consistency: Test the soap’s firmness by gently touching or tapping. It should be solid but not brittle or wet.
Unmold and Use Your Soap
- Release from Molds: Once cool and firm, carefully remove the soap from molds. Use a knife or spatula to loosen edges, then gently pop it out. Trim or shape if necessary.
- Immediate Use or Storage: Unmolded soap can be used immediately or wrapped in plastic or paper for storage or gifting. Store in a cool, dry place for up to a year.
Soap Making: A Creative and Educational Journey
Soap making is more than a craft; it’s an art and a science that enhances your child’s development while providing an opportunity for fun and bonding. Whether creating for personal use, as gifts, or for a special occasion, experimenting with different soap bases and ingredients allows for the creation of unique and natural soap bars. Dive into the world of soap making—an adventure in creativity, education, and shared joy.
![]()